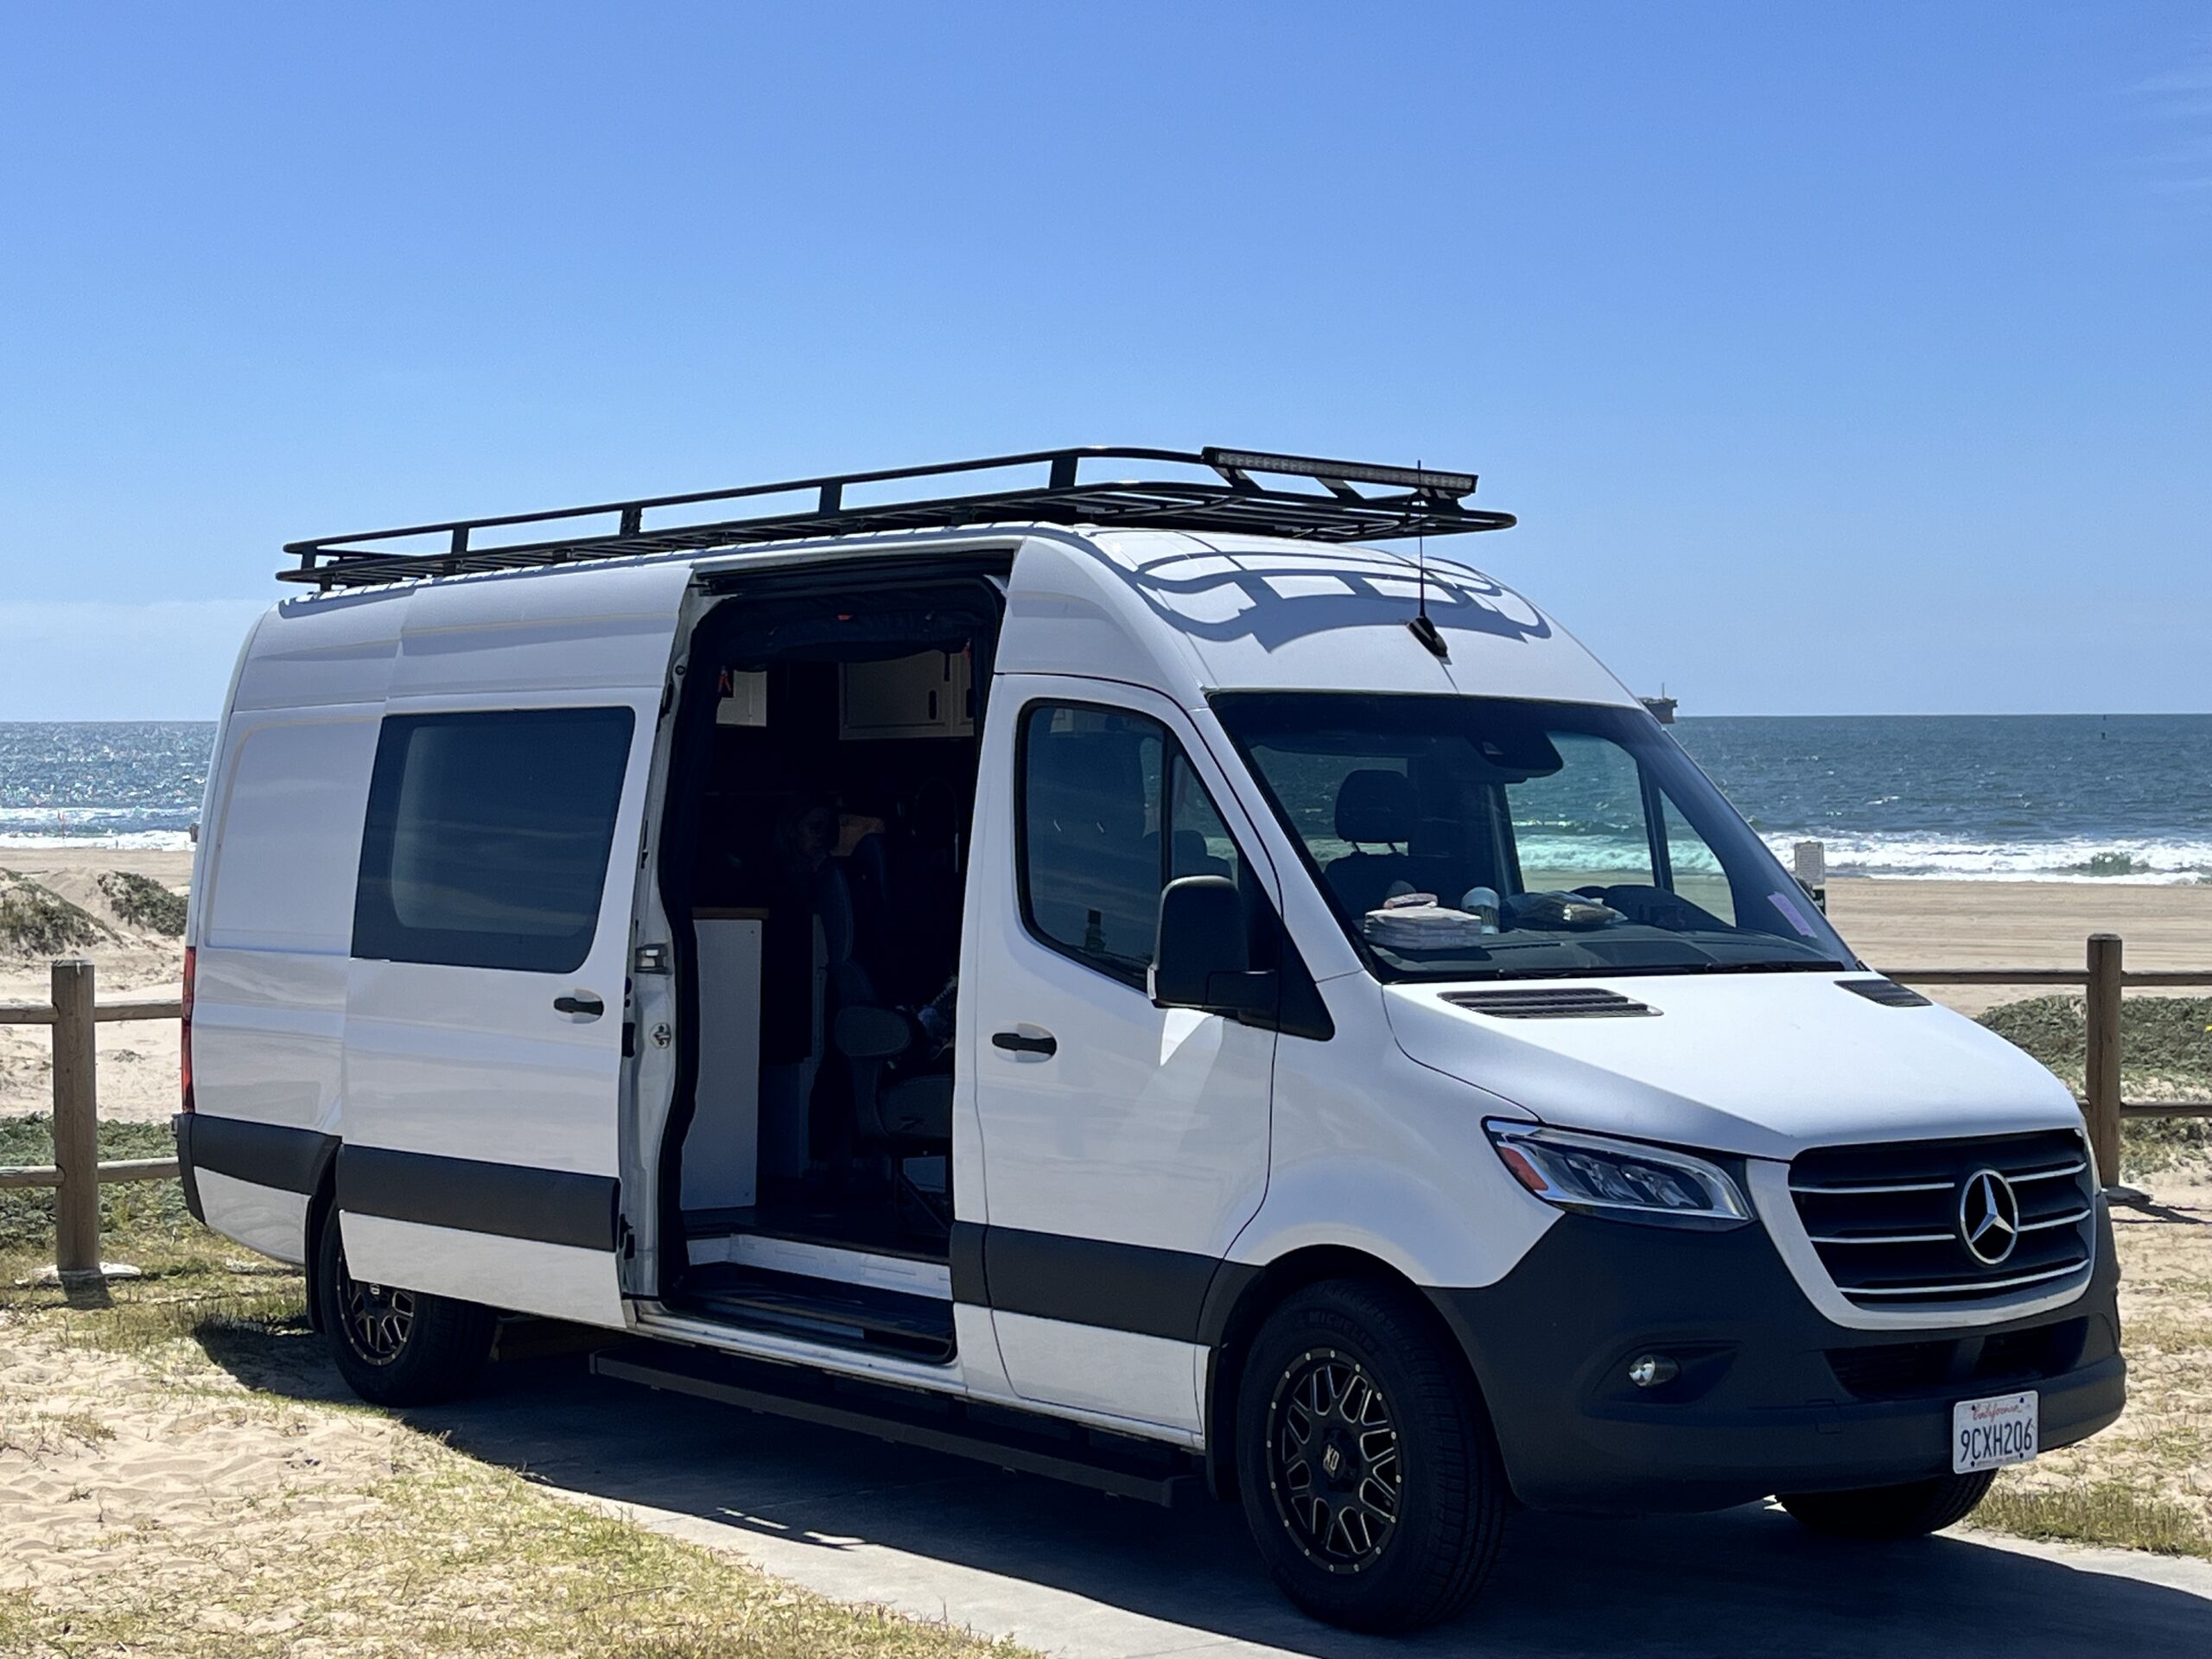
Swivel seats
Both driver and passenger seats swivel. To prepare the seats, adjust the recline to its most upright position. To engage the swivel, push the seat to the rear position using the large lever under the seat. Pull up on the small lever to unlock the swivel function. (On driver’s side, disengage the emergency brake before swiveling). Begin to rotate the seat towards the middle of the van. Before the seat reaches halfway point, pull the seat forward to clear the side pillars and steering wheel. Seats do not lock in the reverse position, but can be moved backwards and forwards, and reclined. If swivel function appears to be stuck, check the seat to make sure it’s not caught on the seat belt or hitting the engaged emergency break, side pillars, or steering wheel.
To return to normal position, push seat towards front to ensure the swivel pin can clear the base, and rotate towards middle of van. You might need to adjust seat position while swiveling to clear obstacles. Swivel pin will click in the front position when finished.
Adjustable tables
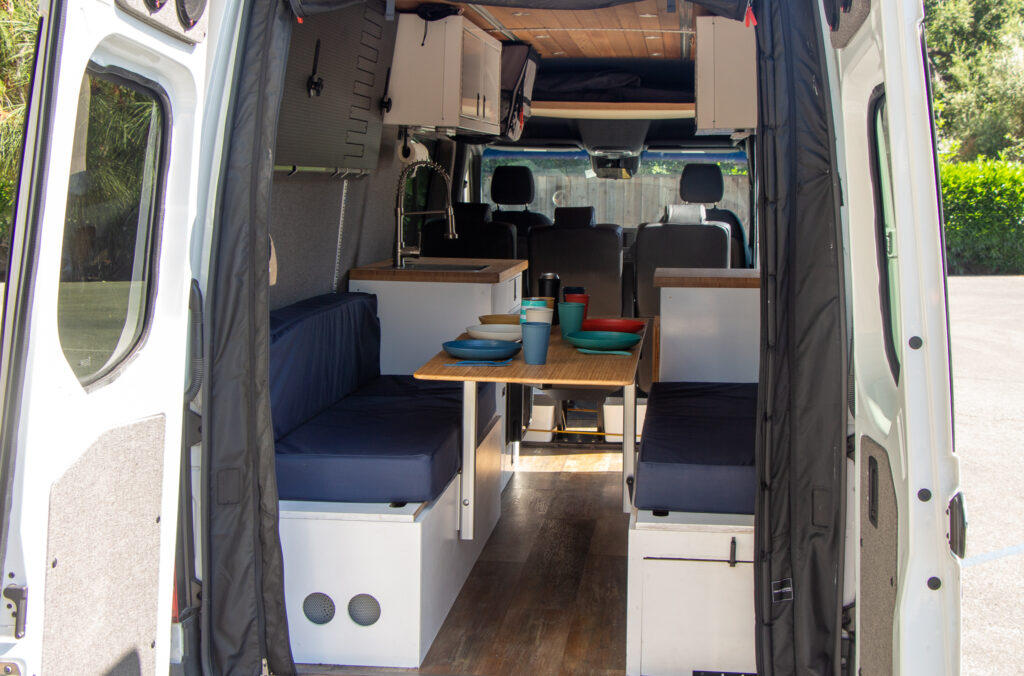
The van has three tables which can be assembled and comfortably positioned. There are two dinette tables in the rear, which allow for a full table dining position. There is a smaller table in between the driver side and the back passenger seats to allow for working or other usage. See video here: https://www.youtube.com/watch?v=L9A8cYG0l84
During travel, the rear tables can be fixed into place against the back support cushions, over the seats. Once put into place, lightly tighten the table so it doesn’t rotate during transit.
Light and pump switches
The cabin lights, water pump, and front and rear spotlights can be operated by a bank of switches, normally mounted underneath the car stereo. These switches are held to the mount plate by a magnet and can be removed from the plate and relocated anywhere in the van.
Other Lights
There are under-cabinet lights which can be set to ‘on’ or ‘motion sensor’. These cabinet lights are rechargeable with a USB-C or USB mini cable.
There are two puck lights mounted underneath the bunk, which use three AAA batteries. If the batteries are dead, additional rechargeable batteries can be found in the lower drawer opposite the sink. Please recharge the batteries after taking them out of the puck lights.
There are also reading lights located to the rear, top part of a van that can be used with the top bunk. These reading lights can be dimmed by holding the button and going to the dimming sequence.
Fan
The fan remote is located to the right of the cabinet above the refrigerator and can be used to control the fan in the rear of the van. The fan can bring cooler outdoor air in, or blow warmer air out. The speed and tilt of the fan can be adjusted, and can be used while driving if needed.
Cabinet opening
The cabinet opposite of the sink opens with a foot press on the bottom of the cabinets and pulls outward. The cabinet door can lock in its fullest outward position. Re-engage the foot press to close.
L-track hooks
The van comes with configurable L tracks up and down and along side of the van. To engage the hook/loops, press in the spring with a thumb to disengage the hook, and slide. To remove the hook, push the spring in, slide to an open position on the track, and remove. There are bungee cables and cam buckle straps in the drawer underneath the cabinet opposite of the sink.
Freshwater and gray water tanks
The van is equipped with a blue 6 gallon freshwater tank and white, 4 gallon gray water tank, which are both located under the sink. Gray water tank should be checked frequently in case it needs to be emptied in a campsite toilet or gray water disposal. The sink/freshwater will operate when the water pump is turned on. (Control switches under the dashboard)
Cookware / Serving-ware locations
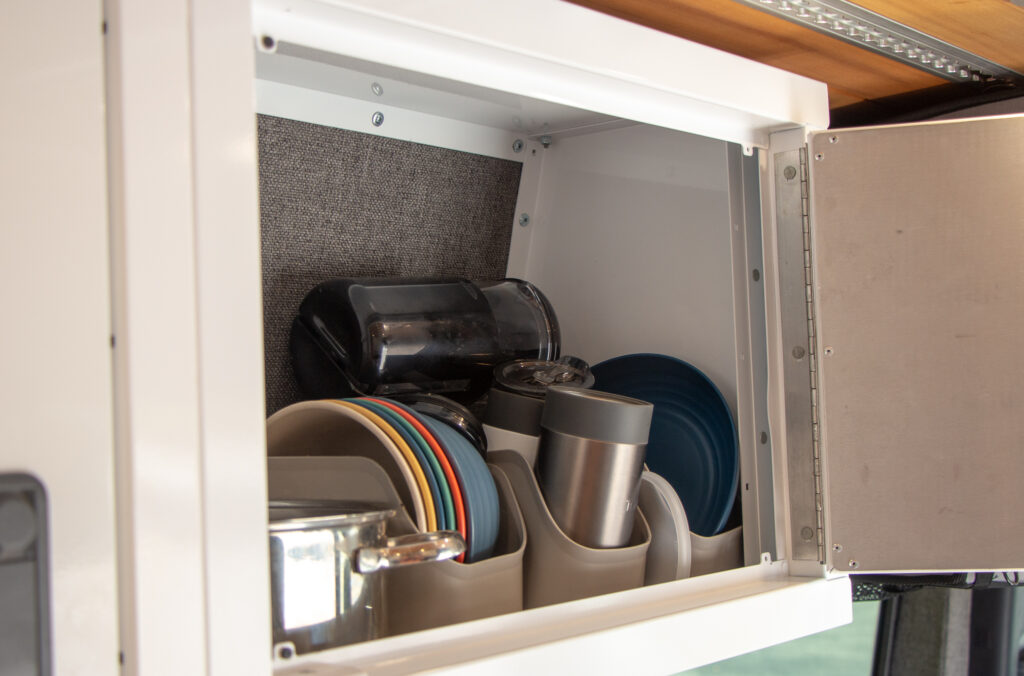
Plates, cups, and bowls are located in the top cabinet above the refrigerator. Cooking and dining utensils are located in the drawer just above the refrigerator. Additional items like trash bags, Ziplock bags, dish towels, and miscellaneous items are located in the drawer underneath the refrigerator.
Induction cooktop
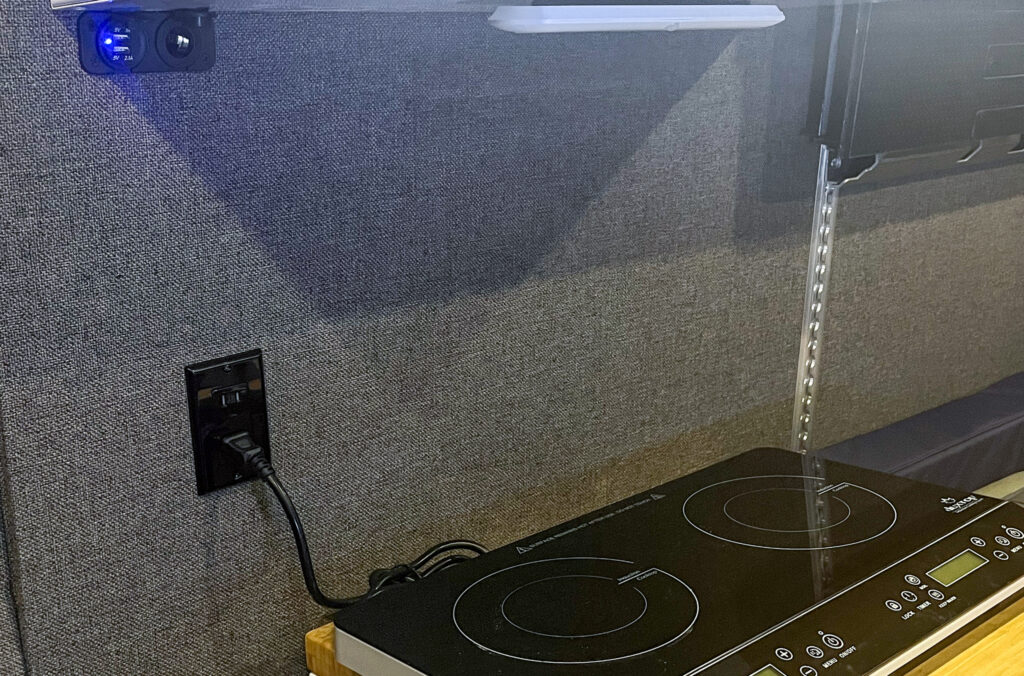
The induction cooktop is located under the sink on the left side held in place by a bungee cord.
Cooktop needs to have the inverter running in order to operate. Once plugged in and power is supplied, press the on button and menu to start the cooking function. The default power level is 5, but the cooktop goes to 10 for a quick boil. The boil button will also quickly set the power to 10. The timer will automatically set to 10 minutes. The left side of the cooktop will supply the most power and cook the fastest. If you are only cooking with one pot at a time use the left side. Always ensure the pan is in the middle of the cooking area, otherwise an error might appear on the cooktop noted by “pan.” When finished cooking, allow the cooktop to cool completely before putting it back under the sink.
If using your own cookware, ensure that it is induction ready – stainless steel or cast-iron will work fine.
Refrigerator
The refrigerator has five levels, with five being the coldest. At night, the refrigerator can be set to one or two to minimize noise. There is a small freezer in the upper part of the refrigerator. To open the refrigerator, slide down on the latch on the left side.
Power inverter/shore (outside plug in) power/monitoring
The van is equipped with 400 amp hours of battery life, 300 W of solar charging, and a shore power outlet, which can be plugged in at campsites, and a 2000W inverter for common household electric appliances. The battery monitoring is under the bench seat on the driver side towards the front. A full battery appears around 14.4 and batteries should be recharged or not used once the display shows 11.5 or lower.
There are multiple 12 V/usb power outlets throughout the van (which do not require the inverter to be powered on):
- 2 in the rear by the rear door
- 2 in the main galley above the refrigerator and cabinet opposite of the refrigerator
- 1 behind the driver seat next to the passenger seat
- There are also USB outlets in the reading lights above the rear of the van
Batteries can be recharged in a few different ways:
- Solar power is always charging when the sun is out
- Shore power will charge the battery system when the inverter is turned on
- Driving the car or having the engine on will allow the alternator to charge the batteries
Moderate usage of the batteries will allow for 3 to 4 days of battery usage, without needing to be fully recharged by shore power or the alternator.
To turn on the inverter, and use standard 120V/household plugs, toggle the switch under the bench seat to on. An audible beep will be heard when the inverter is turned on. The inverter can run for a while, but it is best to turn off when it is not being used as it draws power from the batteries, and will occasionally run the inverter fan.
If power is not working for certain appliances, there are a few things to check:
- Under the rear bench seat on the driver side, there are four circuit breakers. Be sure the circuit breakers are in the on position and not flipped up.
- In the power box under the bench seats, there is a large red master shut off switch. Ensure that is turned to the on position.
If nothing else appears to be working and all these are checked, there is a breaker underneath the driver’s feet in the main starter battery area. This can be reached by pulling up the floor under the driver seat, unscrewing the metal panel and accessing the battery compartment.
Window covers
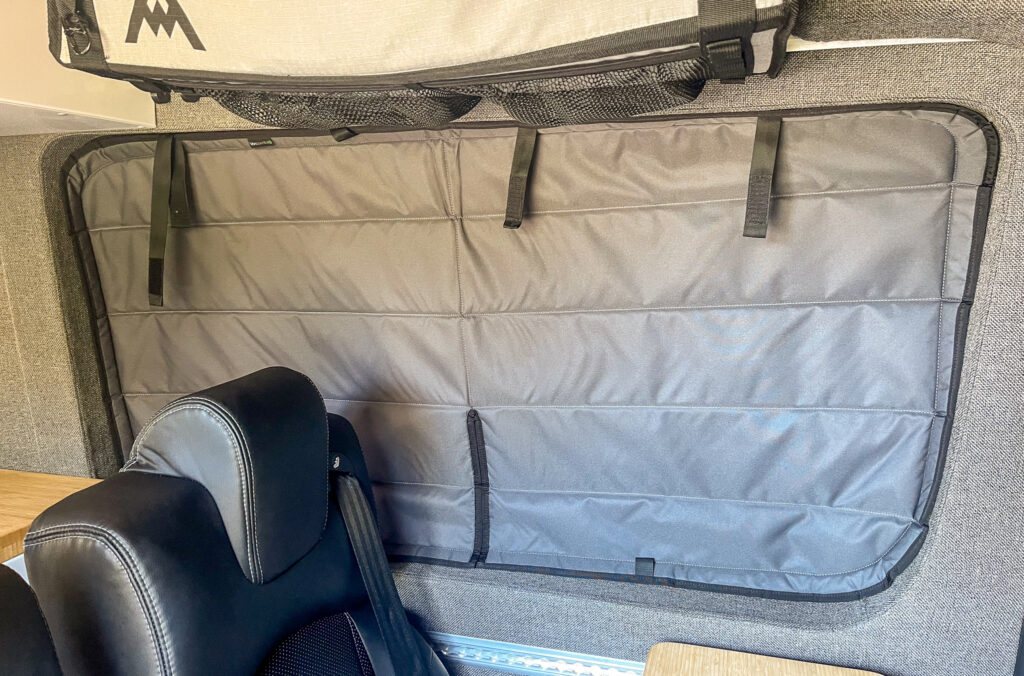
There are covers for every window and the fan to allow for total blackout and privacy for sleep or to block the sun during the day. Window covers are stored in the headliner compartment above the driver/front passenger. The covers are magnetized to fit into the window panels – black side facing outside. For the slider and passenger window, install with the foldable section facing down.
For windshield, wrap the slotted piece around the rearview mirror, and use clips into the headliner and pull drawstrings tight to allow for closer application to the window.
See full instructions here
Window screens
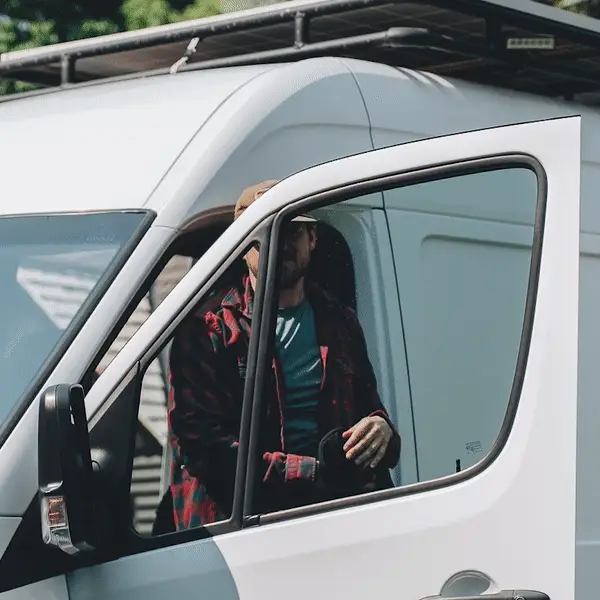
There are small window screens for the driver and passenger side doors, which can be installed to provide additional ventilation when parked. They are located underneath the window coverings above bulk head in a small fabric bag. To install, roll down the windows and position the screens between the top window seals and push up to form a seal. Slowly roll up the window until it reaches just to the bottom of the screen. The other option for the front window screens is in a round nylon bag. These larger screens are designed to be thrown over the front doors while opened. Adjust the mesh netting to fit the door frame and close the door to secure. With these screens, the windows can be adjusted to your preference
Bug Screens
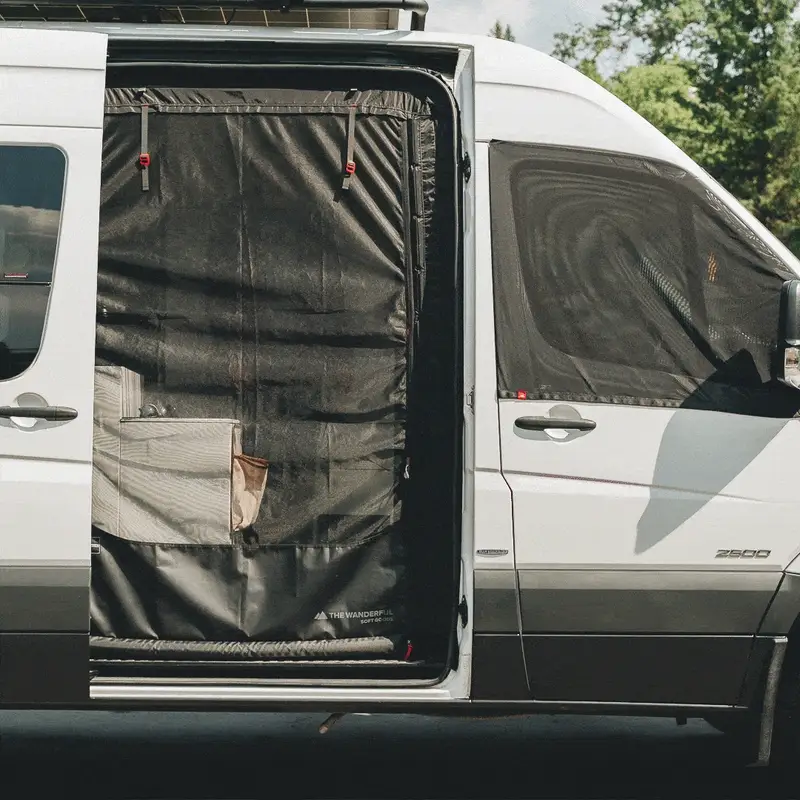
The sliding door and rear door openings both have bug screens that can be used when necessary. To use, un-hook the two straps holding the rolled screens, and allow screens to unroll to the floor. Zippers on both sides of the screens will allow the screen to remain closed. To open the screens when unrolled and zipped, use the red tab on the side to pull the screen away from the magnetic side closure. To roll up the the screens when not needed.
Lower Dinette/Mattress assembly
The bench seats, cushions, and tables combine to form a queen bed. To set up the bed, disassemble the tables and place them lengthwise into the slots in between the benches. The cushions should be turned 90° from the original position to assemble the bed so that they are laid widthwise across the van. Assemble the cushions with the T slotted cushion in the rear-most position, fitting into the angles of the rear door. Next, put the smaller back support cushion, and finally the two larger seat cushions toward the front of the van.
When the cushions are assembled into the shape of a bed, put mattress topper and fitted sheet on the bed.
To disassemble and set up the bench dinette area, remove mattress covers and sheets put aside and reassemble benches lengthwise in the van and assemble tables back to the normal height.
Upper Bunk assembly
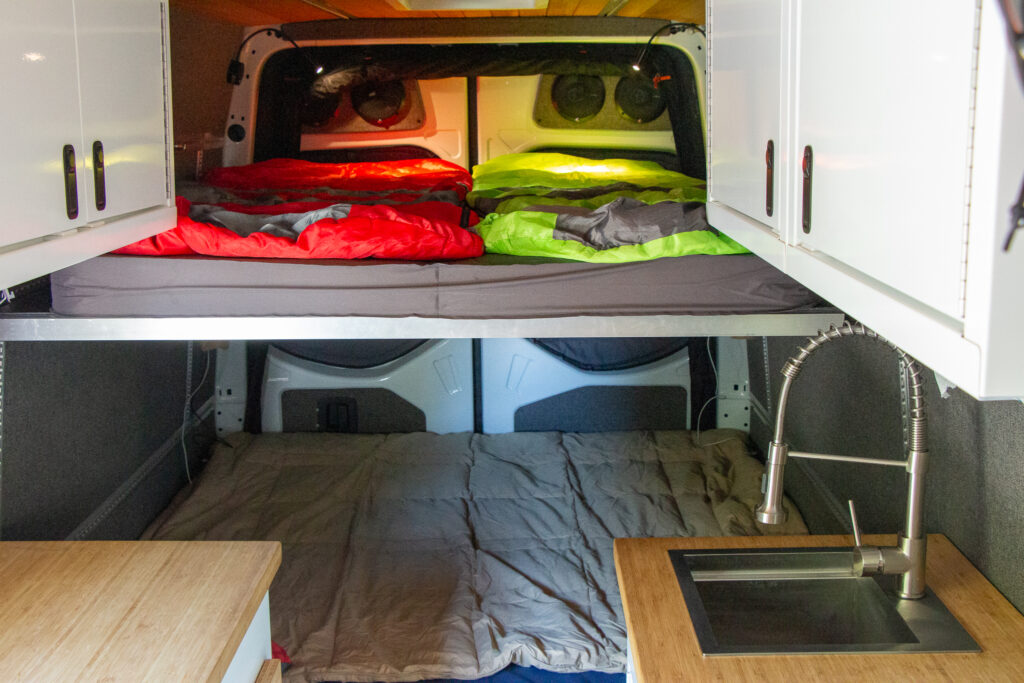
The van offers a top, queen size bunk, above the rear dinette. This can be assembled by using the three adjustable platform panels, which are mounted to the wall during normal driving operation.
To install, remove all three panels and place aside. To remove panels unscrew the mounting bolts by twisting counterclockwise using one hand to hold the panel in place, so it doesn’t fall. Once both mounting bolts are removed, grab the panel by the two slots located on each side of the panel. Mounting bolts can be stored in a zipper pouch and put in the small drawer under the cabinet opposite the sink.
Full bed install video: https://youtube.com/clip/Ugkxgj0X8ebeL6GXJe4okDyvpC-bZKGKQhoL
Cabbunk (Optional for 5th/6th sleeper)
There is a bunk set up that allows for a child or two children to sleep in the front of the van with the swivel seats engaged. Before setting up the bunk swivel the seats around fully and pull seats into their rear, most position towards the back of the van.
See video for details on how to set up the bunk:
Toilet
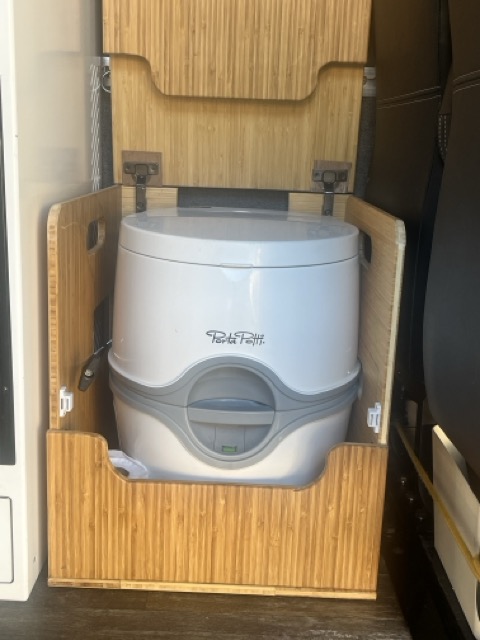
The toilet located inside a bench/cabinet just behind the driver side rear passenger seat can be used when needed. To open the cabinet, ensure the passenger seat is tilted forward.
The toilet has two main compartments: an upper compartment which has water and toilet solution, and a lower compartment which is a holding tank for waste. To flush, close the lid, pull the gray lever towards the towards you, and press the blue flush button on the top of toilet. Allow flushing solution to drain into the tank, and push the grey lever back toward the wall to seal the bottom tank.
The toilet has two indicators for fluid levels. The indicator on the top section of the toilet will tell how much solution is available to rinse and flush. The indicator on the bottom front of the toilet will show when the holding tank is full. The holding tank needs to be emptied when the indicator is completely red. Additional holding tank solution is located in the bench cabinet closest to the passenger sliding door.
To empty the toilet, disconnect the top portion following instructions highlighted:
https://www.thetford.com/wp-content/uploads/2018/04/Porta-Potti-565-QSG_92122-LR-web.pdf
CarPlay/Android Auto
The entertainment unit offers Apple CarPlay or Android Auto, which can be accessed by plugging into a USB-C cable located above the head unit in the console. Ensure you use the outlet marked with a small computer or laptop display icon. Additional charging for phones or other devices can be used in the front of the van with USB-C cables located in the console above the head unit or below the cupholders.
Diesel/DEF
Note, this is a diesel engine: no regular gasoline. Please use regular #2 diesel and not bio-diesel. (Renewable diesel is ok)
This van is also equipped with a diesel particulate filter and uses diesel emission fluid to have clean emissions. The DEF fluid should be in a half to full state but if needed to be added, you can purchase DEF fluid any auto store or places like Walmart. Look for blue DEF.
Rear Doors
Rear doors can be opened 90°, 180° or 270° flush against the side of the van. Be aware when opening to 180° that any strong wind could slam the door shut anytime. To open the door from the inside ensure that you pull hard on the interior door lever to unlatch. Be sure to close the driver’s side door first in order to avoid denting the passenger side door.
Rear speakers
There are Bluetooth speakers in the rear doors of the van which can be connected by enabling Bluetooth on your device and connecting to AP-BTM-1200.
Diesel/Parking Heater
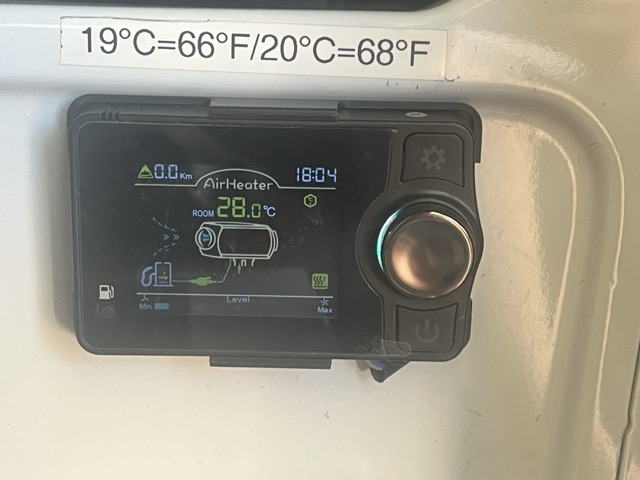
The van is equipped with a diesel heater that can heat the entire van while parked. The heater is located underneath the front passenger seat, with the control and vent facing the rear of the van. To operate, locate the control panel, and press the power button. The LED display will light up. To adjust the fan speed, turn the knob on the control to the desired setting (speed shows on the bottom). To adjust the desired temperature, press the button to show the temperature, and turn the knob to the desired temperature. 20 degrees C should provide a comfortable temperature (68 degrees F). The heater does not have a timer on it, so it will run up to 12 hours unless manually shut off.
To turn off the heater, press the button until the LCD screen displays “off”
The heater can be controlled via bluetooth app downloadable via Google Store or Apple App Store (Search AirHeaterBLE)


